What Panic Bar Installation Actually Involves — and Why It Is Not a DIY Project
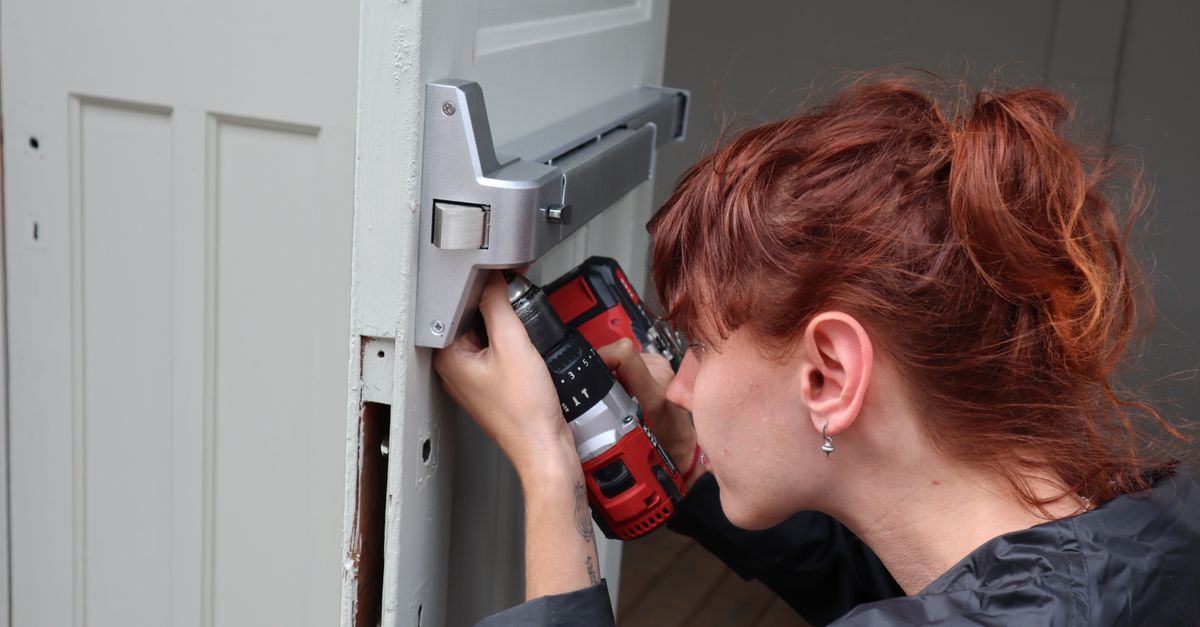
A crash bar installation looks straightforward on the surface: a horizontal bar across the door, a latching mechanism inside the frame. In practice, the work involves aligning the crossbar assembly to the door's exact height and stile width, routing the rod or cable to the latch or mortise lock mechanism, and verifying that the panic function — the push-to-exit motion — releases cleanly under real pressure without back-driving the lock cylinder when the door is closed from the outside. Doors that are out of plumb, frames with worn or non-standard strikes, and glass-storefront setups all create complications that a trained commercial locksmith catches before they become callbacks.
Exit devices also come in meaningfully different configurations. A rim-mount device sits on the door's surface and is the most common entry point. A mortise lock panic bar integrates directly with a mortise lock body recessed into the door stile — the same high-security mortise chassis that many Chesterfield County commercial buildings already use on their primary entries. A panic bar with mortise lock gives you the one-touch egress required by NFPA 101 while keeping the full deadbolt and latch security of a mortise on the outside. Vertical rod devices engage both the top and bottom of the door simultaneously, which is the standard for double-door openings and is required on many pairs of fire-rated doors. Getting the configuration wrong is not just an inconvenience — it can mean a failed fire inspection or a device that malfunctions under the one scenario it was designed for.